Create and manage workspace groups
Workspace groups are logical groupings of a set of devices (or endpoints) that can be used when managing an organization. They can be static, dynamic, and Entra ID type.
Static workspace groups
It is a group created manually, with free criteria. The devices that comprise it do not change unless the group is modified. You can create and manage it from the Portal and the Workspaces module by filtering the list in the Workspaces option.
Create a static workspace group from the Portal
-
Enter the Portal and select the
Workspaces->Workspace Groupsoption in the left side menu. A list of available groups will appear (or empty, if none exists).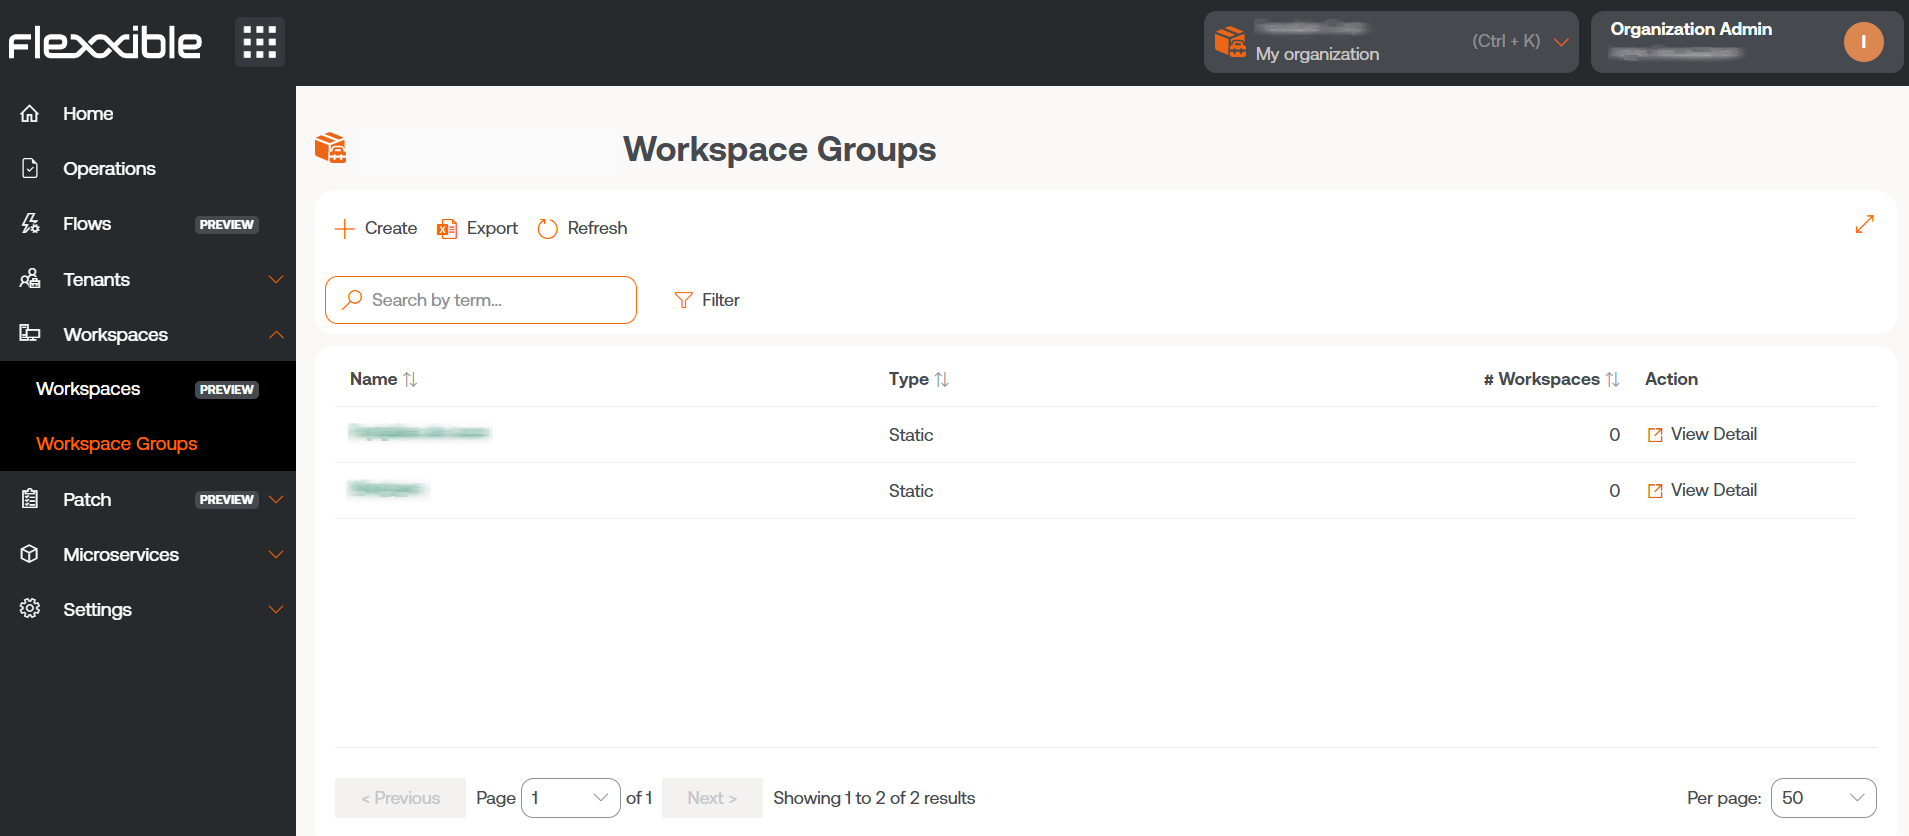
-
Click on the
+ Newbutton at the top of the list. A modal window will appear on the right side of the screen. Enter the group name and its description (optional). Click the+ Newbutton at the bottom of the window.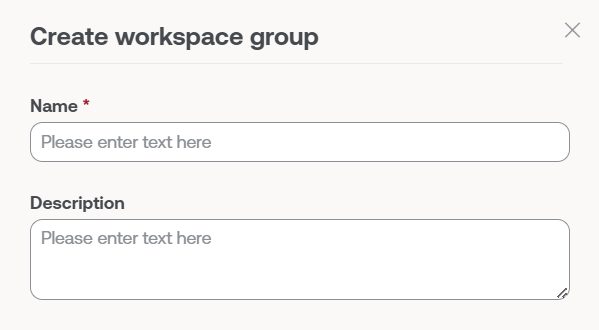
-
A confirmation message of the group's creation will appear. Close the window using the cross at the top right.
-
The new group will appear in the list of workspace groups. Click on its name to access the details.
Create a static workspace group from Workspaces
- Access the Workspaces section in the left side menu of the Workspaces module.
- Select the desired devices in the list view.
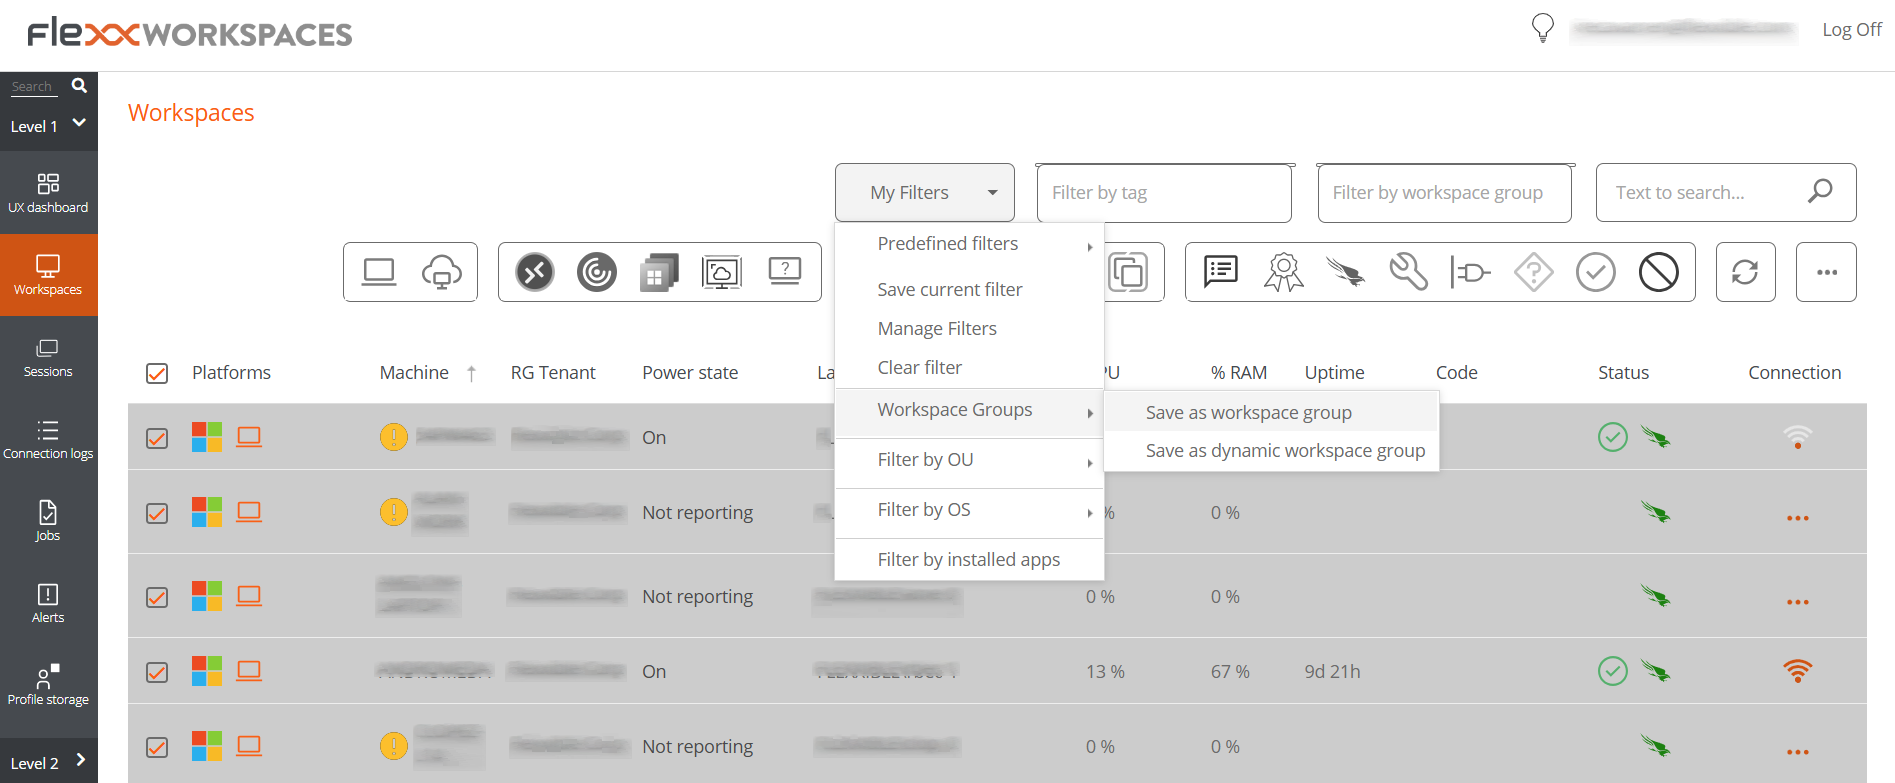
- Save the devices in a new group by clicking
My Filters->Workspace Group->Save as Workspace Group.
Dynamic workspace groups
It is a group where a condition is periodically evaluated, so its members can change in real-time. Dynamic workspace groups can be created from search filters in the Workspaces module.
Create a dynamic workspace group
Dynamic groups are created from the Workspaces view, within the Workspaces module.
-
Access the list of devices. Select (or create) a search filter. For simplicity, in this example a filter that searches for devices that haven't restarted in the last 15 days is used.
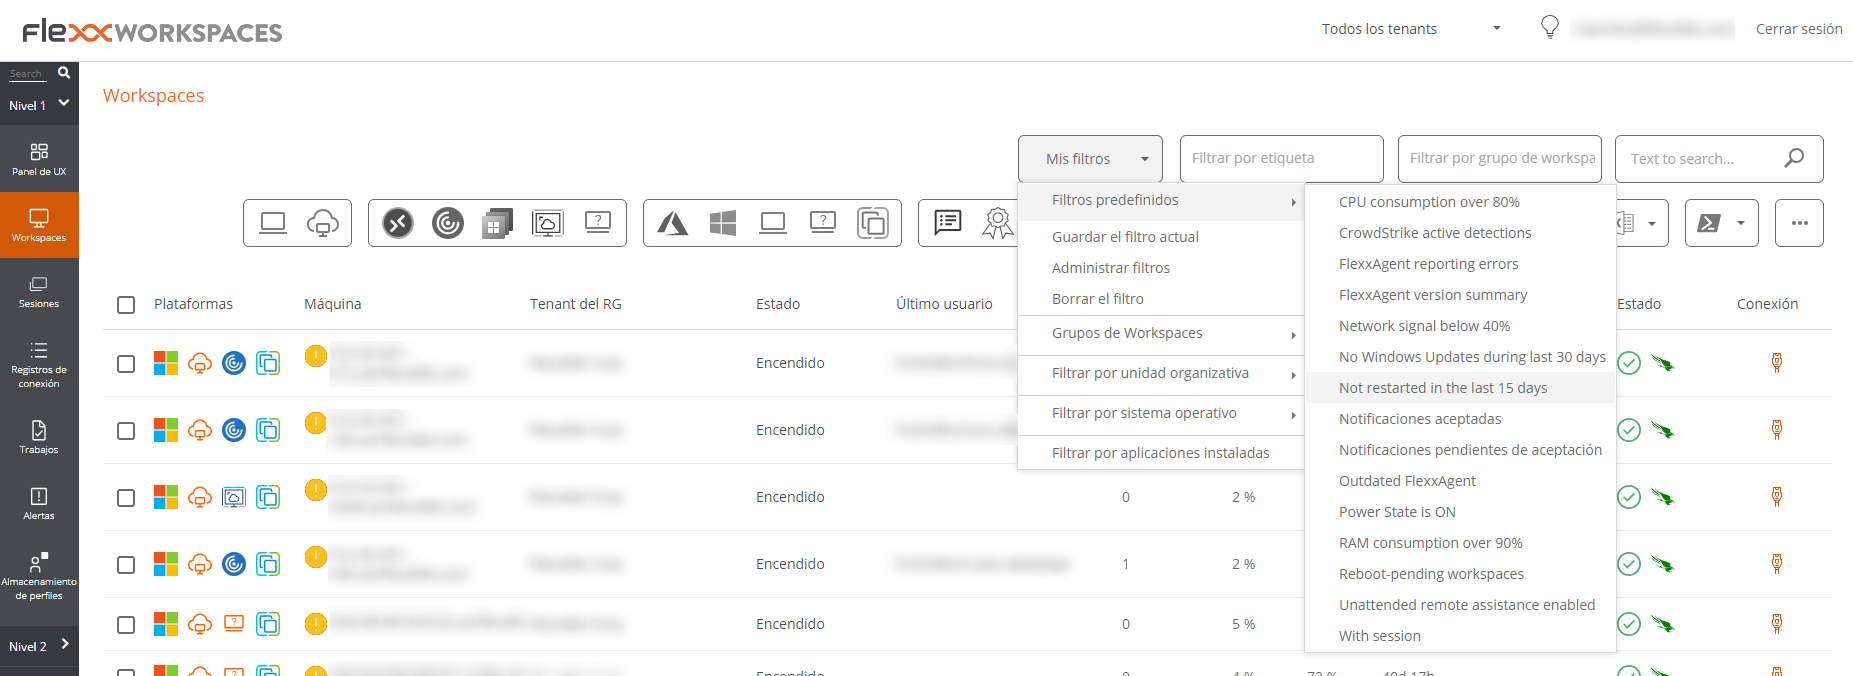
-
Once inside the filter results, use the
My Filters->Workspace Groups->Save as Dynamic Workspace Groupoption.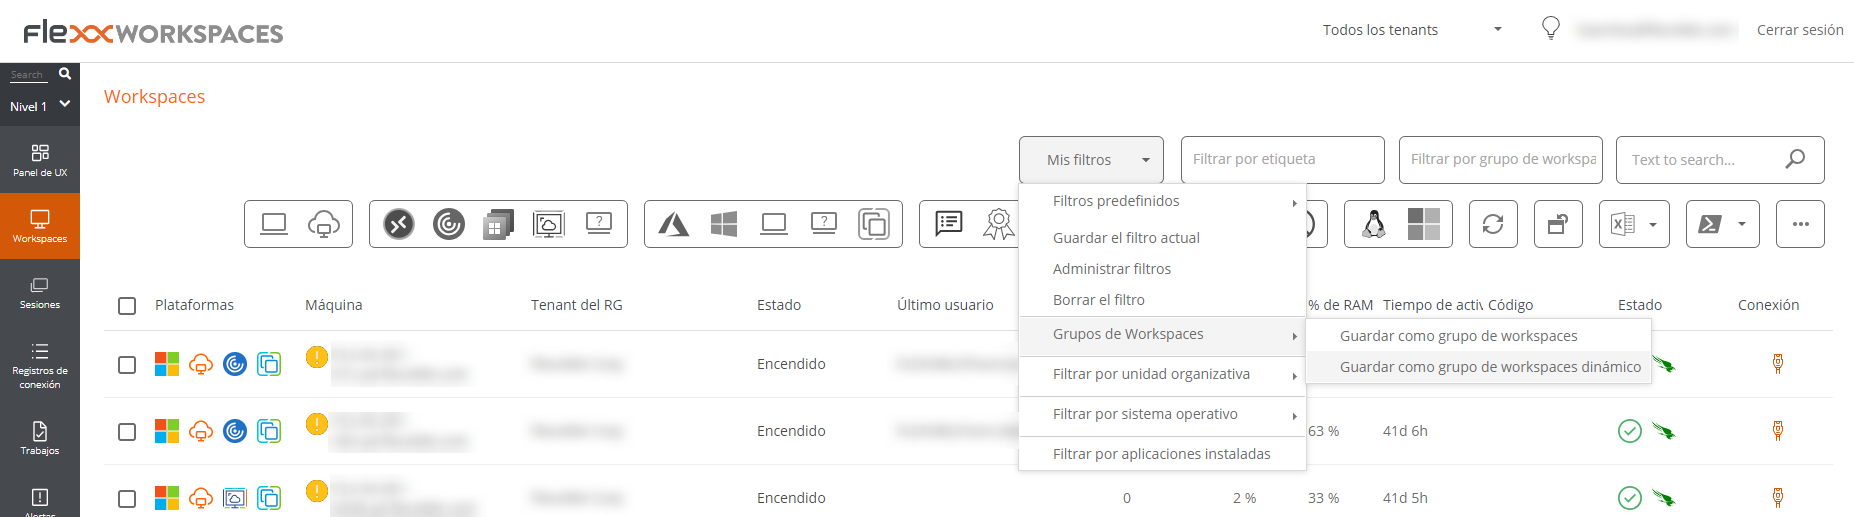
-
A pop-up panel will appear. Give the dynamic group a name and click
OK. -
The system notifies that a job has been scheduled to create this item. You can audit the task execution in the Jobs section of the left-menu in the Workspaces module.
-
Go back to the
Workspaces->Workspace Groupsmenu in the Portal to check that the new dynamic group has been created and review its members.
Workspaces Enter ID groups
It is a group that can pull members from an existing group or organizational unit in the Entra ID domain in use. Creating this type of group requires at least one active integration with the Entra ID domain under Settings -> Integrations in Portal.
Create a Workspace group Enter ID
Entra ID groups are created from Portal.
- Go to
Workspace groupsin the side menu. - Click on the
Newbutton located at the top of the list view. - Next, you should add a name, a description for the group, and activate the Entra ID button. Select the type of group to be created: Entra ID Group or Entra ID Administration Unit.
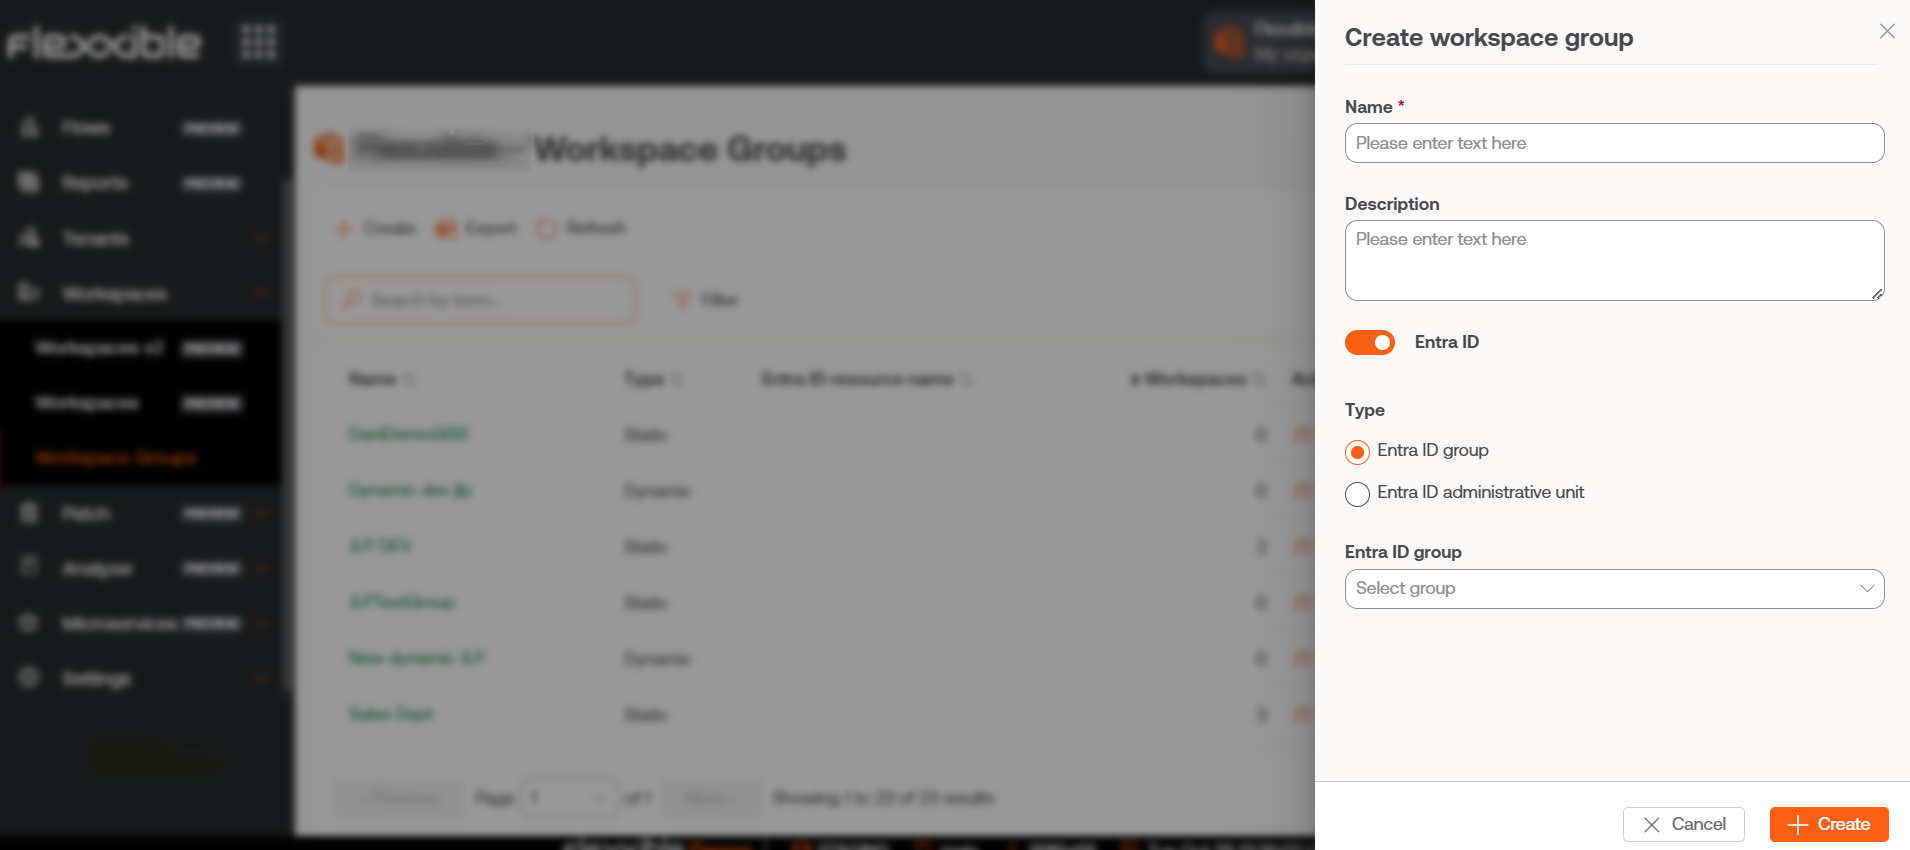
Entra ID groups require an API connection, which can be configured from Portal -> Settings -> Integrations. Only from there can you check the created Enter ID Group and Enter ID Administration Unit and, therefore, perform operations on them from the Workspaces module.
Manage a workspace group from Portal
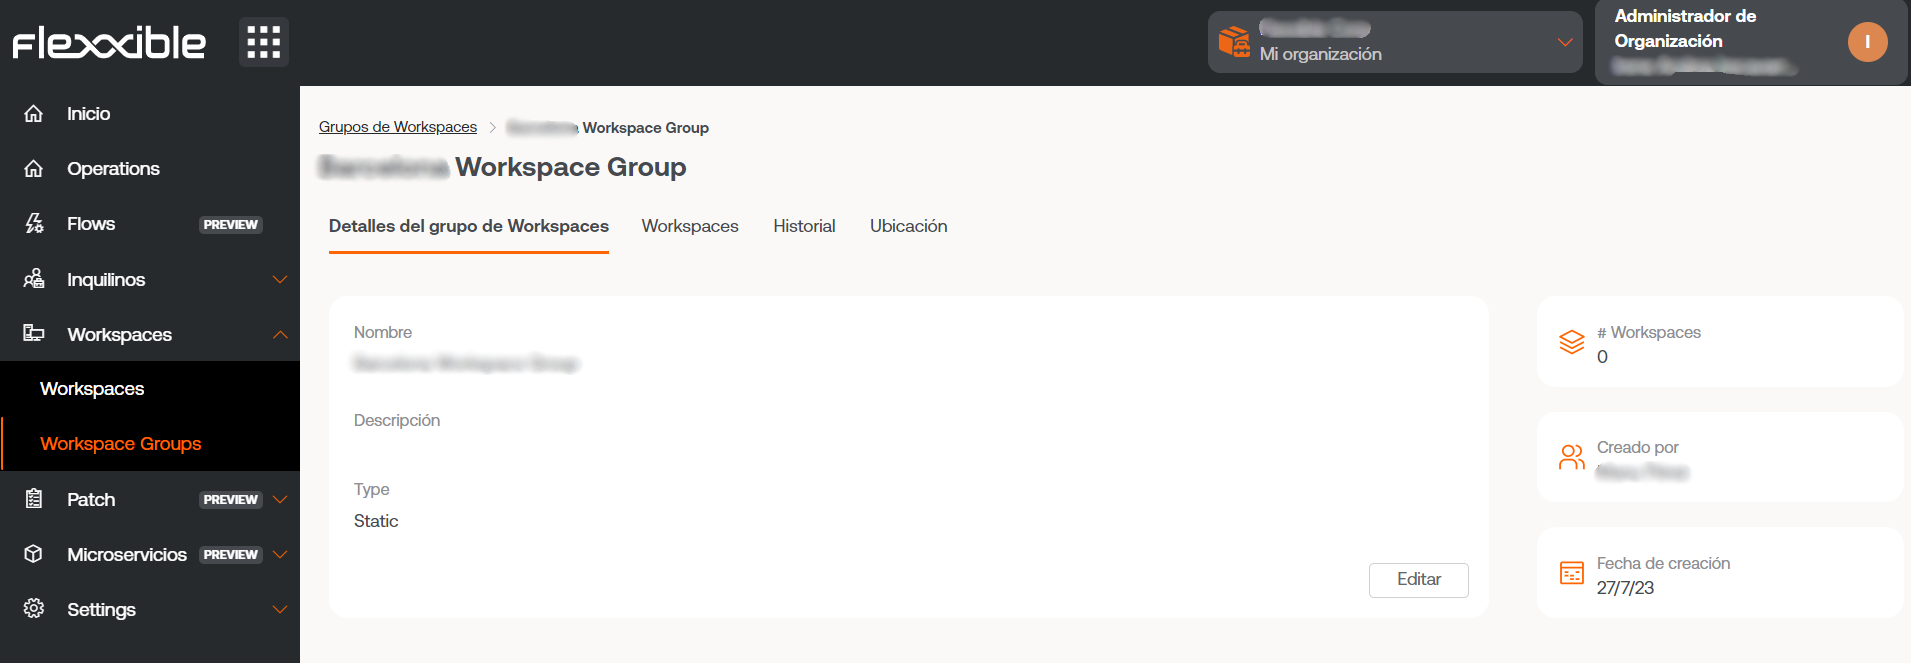
To manage a workspace group, click on the name of the desired group and access the following tabs:
-
Details. Provides general information about the group. From here you can delete the group by clicking on the
Editbutton. -
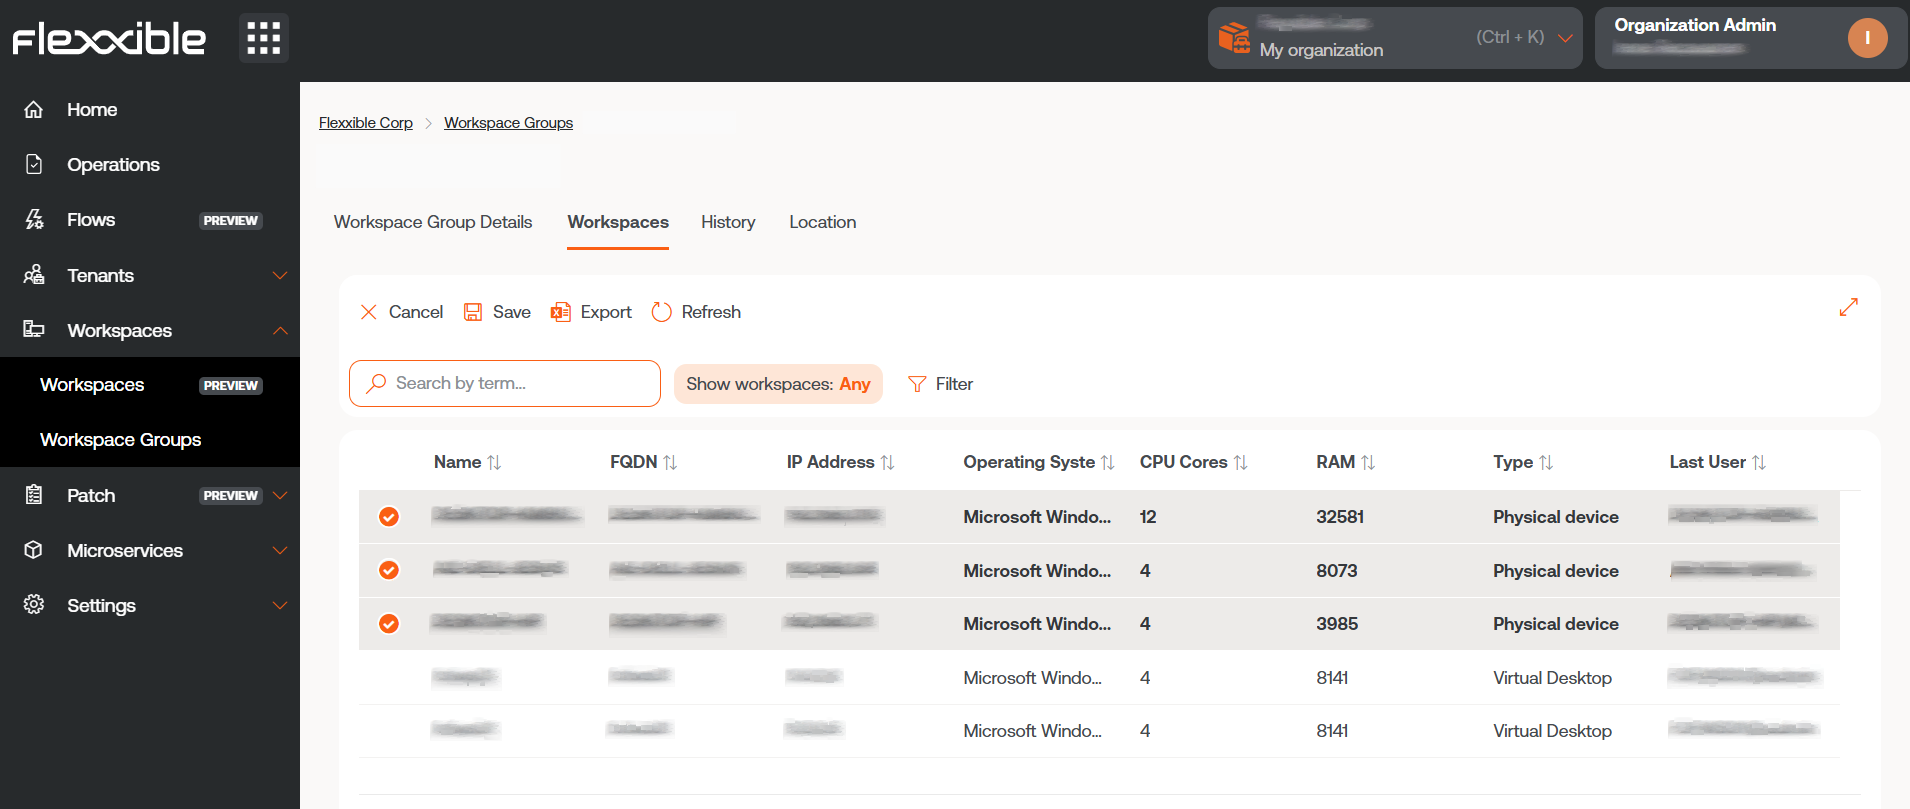
Workspaces. Displays the devices that are part of this group. This option allows exporting the list of devices comprising it.
-
History. Shows a bar graph with the daily number of workspaces that have comprised the group during the last month. You can zoom in on the chart for better reading by selecting the bars you want to enlarge with the mouse. By Reset zoom, the information returns to its original state.
-
Location. A geographical location can be added to the group of devices. This value is just a reference, it does not update if users change location.
-
Scheduling. From this tab, you can schedule the automatic power-on (Wake on LAN) or shutdown of a group of devices. If the user wants to schedule one of these actions, they must click on the
Newbutton and fill in the form fields forAction,Day of the week, andTime UTC.- Action. Allows you to choose between Wake on LAN or Shutdown.
- Day of the week. Allows you to select which day of the week the action will take place.
- UTC time. Allows you to specify the exact time to start the action, in the Coordinated Universal Time standard.
The created action will then be displayed in a table, with columns showing the information entered in the form, as well as which user created the action and who updated the schedule and when.
From
View detailsyou can edit and delete the scheduled action. -
Synchronizations. This tab is only visible when the group is of type Entra ID. Displays a table with details of the performed syncs.
Add devices to the static workspace group
There are two ways to add devices to a static workspace group from Portal:
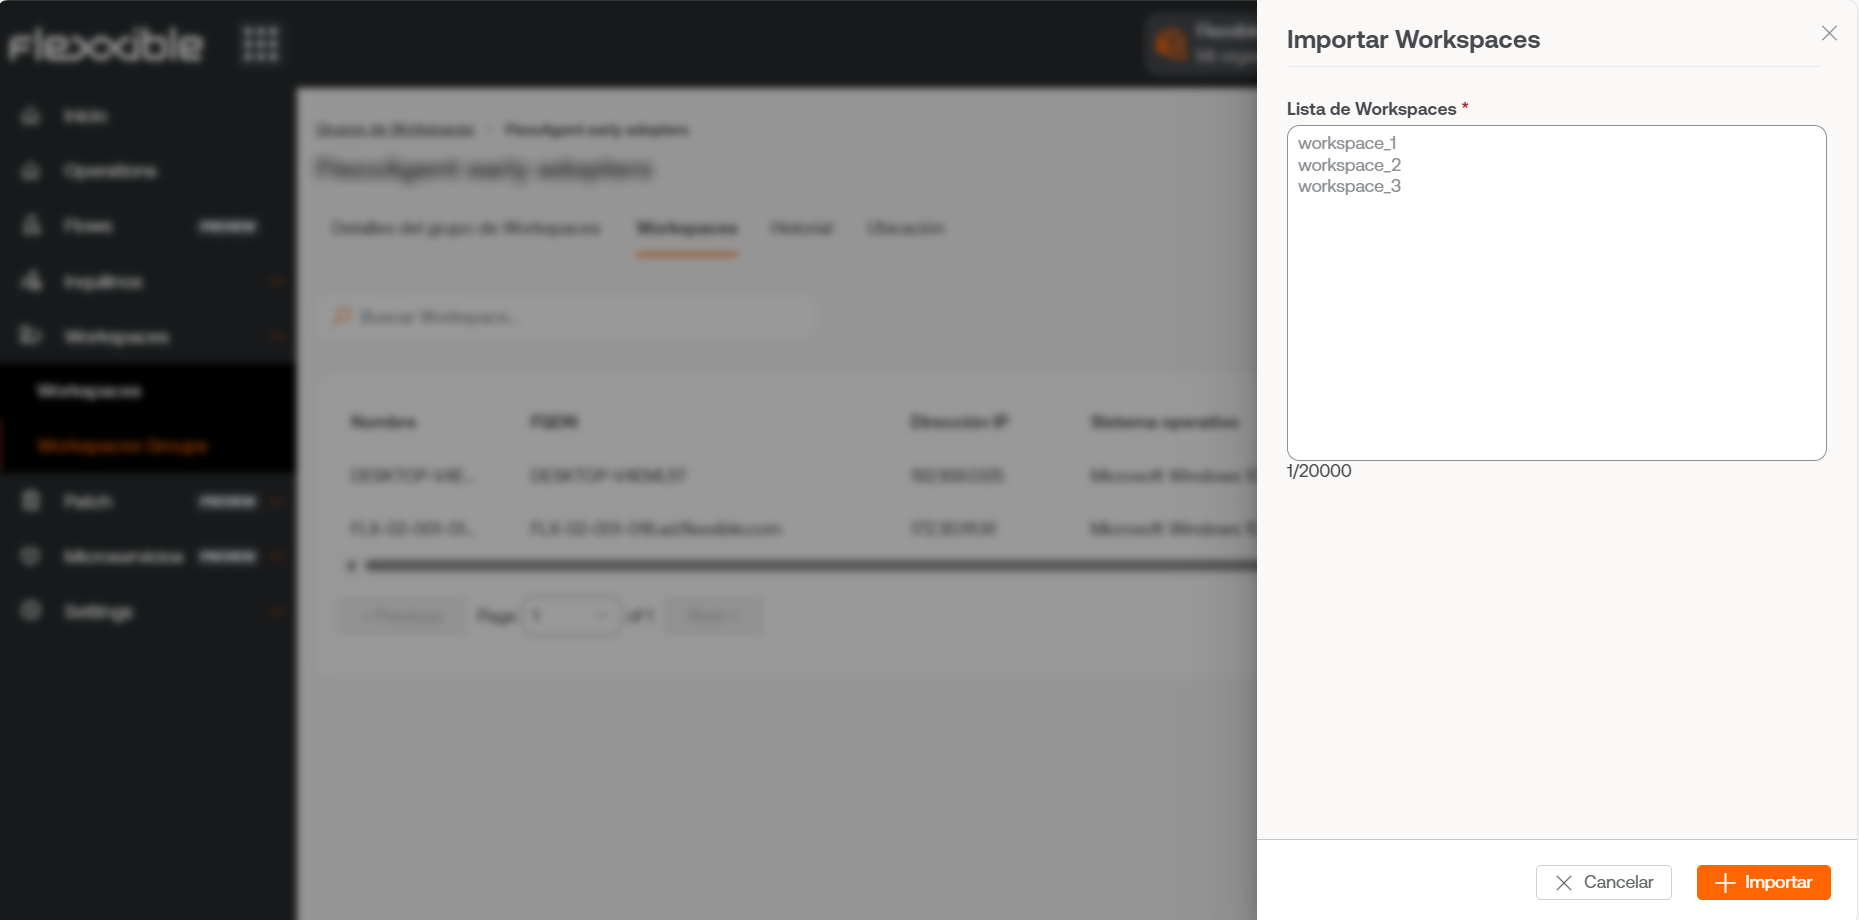
- In the groups table, click on
Detail Viewof the desired group ->Workspaces->Import devices. A form opens allowing importation of up to 20,000 devices.
- In the groups table, click on
Detail Viewof the desired group ->Workspaces->Edit. Next, select the devices you want to add. Those marked with an orange dot are added to the group and those not marked are removed. In both cases, click onSaveto keep the changes.
Manage a workspace group from Workspaces
Once the group is defined, it can be managed within the Workspaces module.
- Access the Workspaces section in the left side menu of the Workspaces module.
- Filter the list of devices by workspace groups.
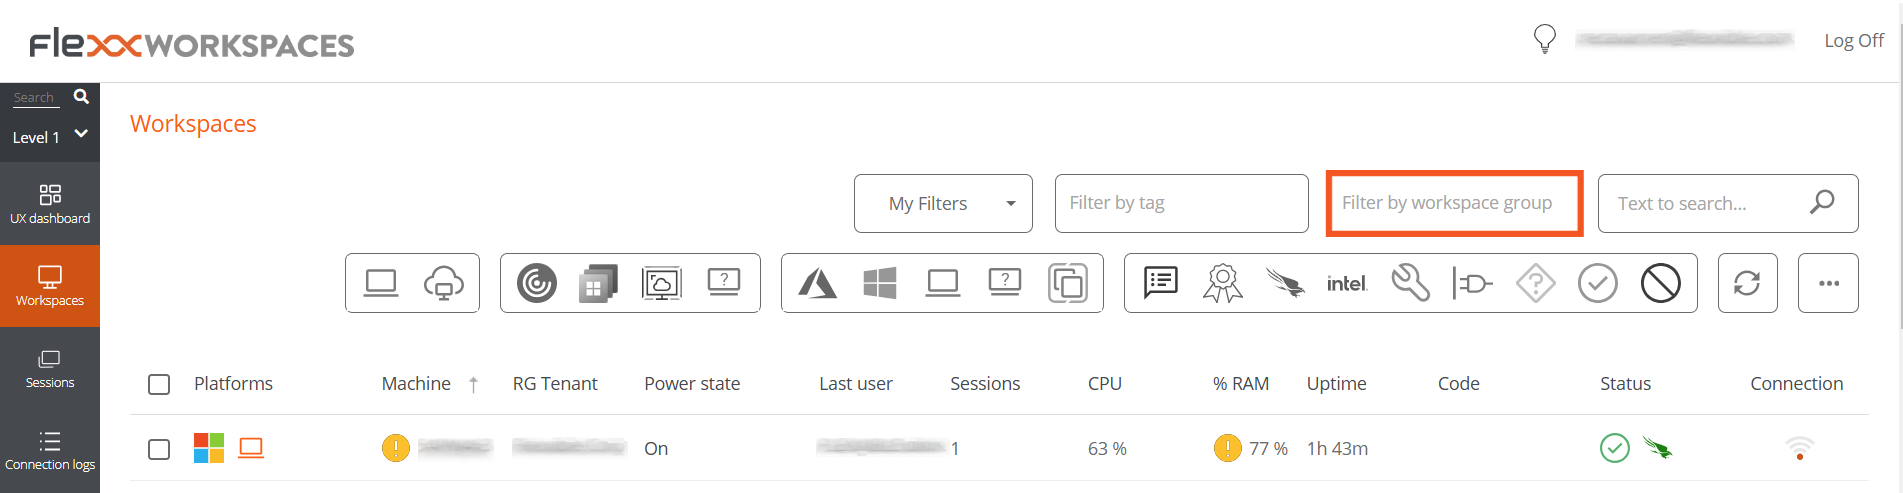 3. Choose the workspace group on which you want to perform actions.
4. Use the multiple options offered by the Workspaces module.
3. Choose the workspace group on which you want to perform actions.
4. Use the multiple options offered by the Workspaces module.
For more information about workspace groups, please consult their documentation.